Instance segmentation
JustDeepIt supports users to perform object detection, instance segmentation, and salient object detection with GUI or CUI. In this tutorial, to overview of functions for instance segmentation, we showed the usage of JustDeepIt for instance segmentation with an artificial dataset.
Dataset
The artificial dataset used for this quick start is stored in
GitHub (JustDeepIt/tutorials/IS).
The data folder contains images folder,
annotations folder, and class_labels.txt file.
The images folder contains training images.
The annotations folder contains annotation of training images.
class_labels.txt is an text file containing the class labels of training images.
Users can use git command to download the dataset from GitHub with the following script.
git clone https://github.com/biunit/JustDeepIt

ls JustDeepIt/tutorials/IS
# data run_maskrcnn.py

ls JustDeepIt/tutorials/IS/data
# annotations     class_label.txt images

ls JustDeepIt/tutorials/IS/data/images
# e1.png  e10.png e2.png  e3.png  e4.png  e5.png  e6.png  e7.png  e8.png  e9.png
Settings
To start JustDeepIt, we open the terminal,
as the following commands,
change the current directory to JustDeepIt/tutorials/IS,
and run justdeepit command.
cd JustDeepIt/tutorials/IS

justdeepit
# INFO:uvicorn.error:Started server process [61]
# INFO:uvicorn.error:Waiting for application startup.
# INFO:uvicorn.error:Application startup complete.
# INFO:uvicorn.error:Uvicorn running on http://127.0.0.1:8000 (Press CTRL+C to quit)
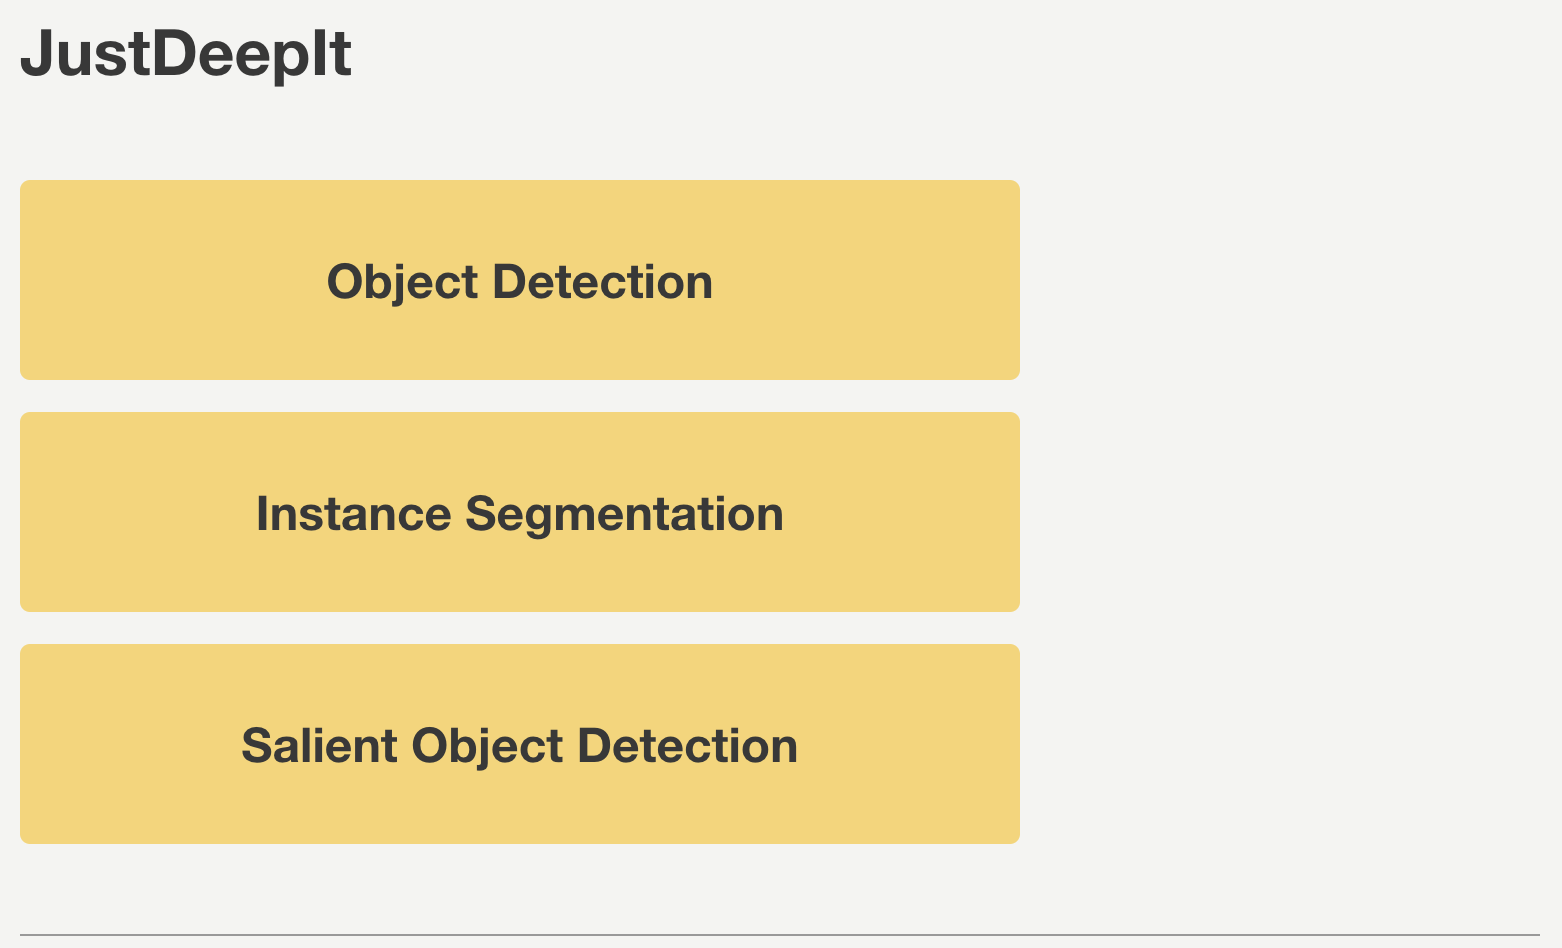
Then, we open the web browser and accesss to http://127.0.0.1:8000. At the startup screen, we press “Instance Segmentation” button to start segmentation mode.
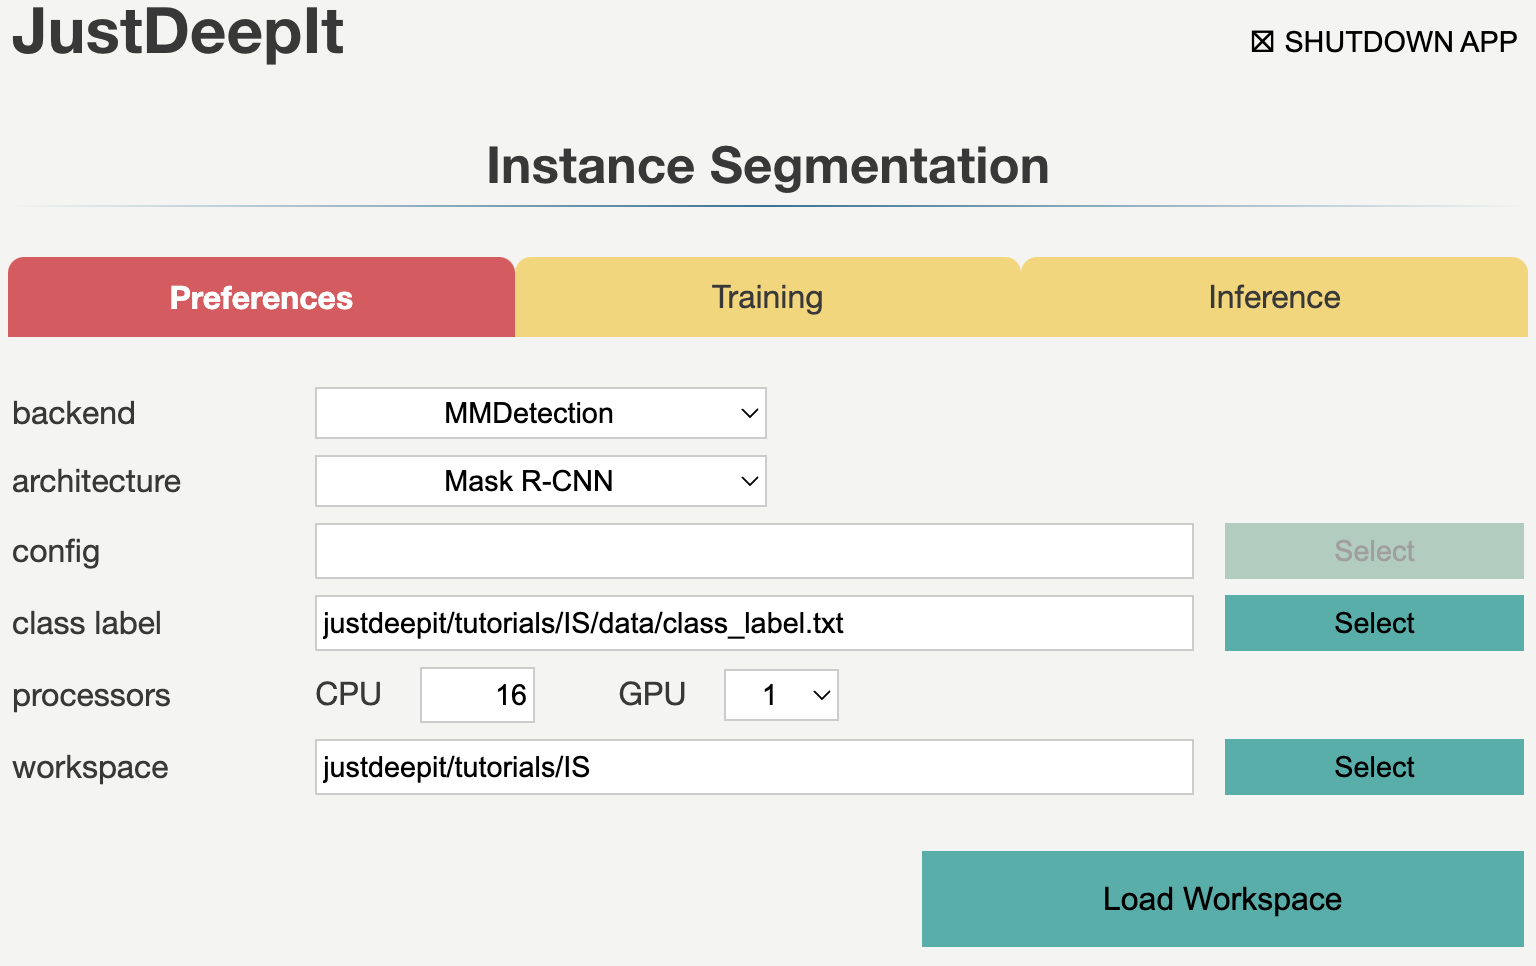
Next, at the Preferences screen,
we set the architecture to Mask R-CNN,
and the other parameters as shown in the screenshot below.
The workspace will be automatically set as the path of the current folder
(e.g., JustDeepIt/tutorials/IS, depending on the user’s environment).
Then, we press button Load Workspace.
Once the Preferences is set, the functions of Training and Inference become available.
Training
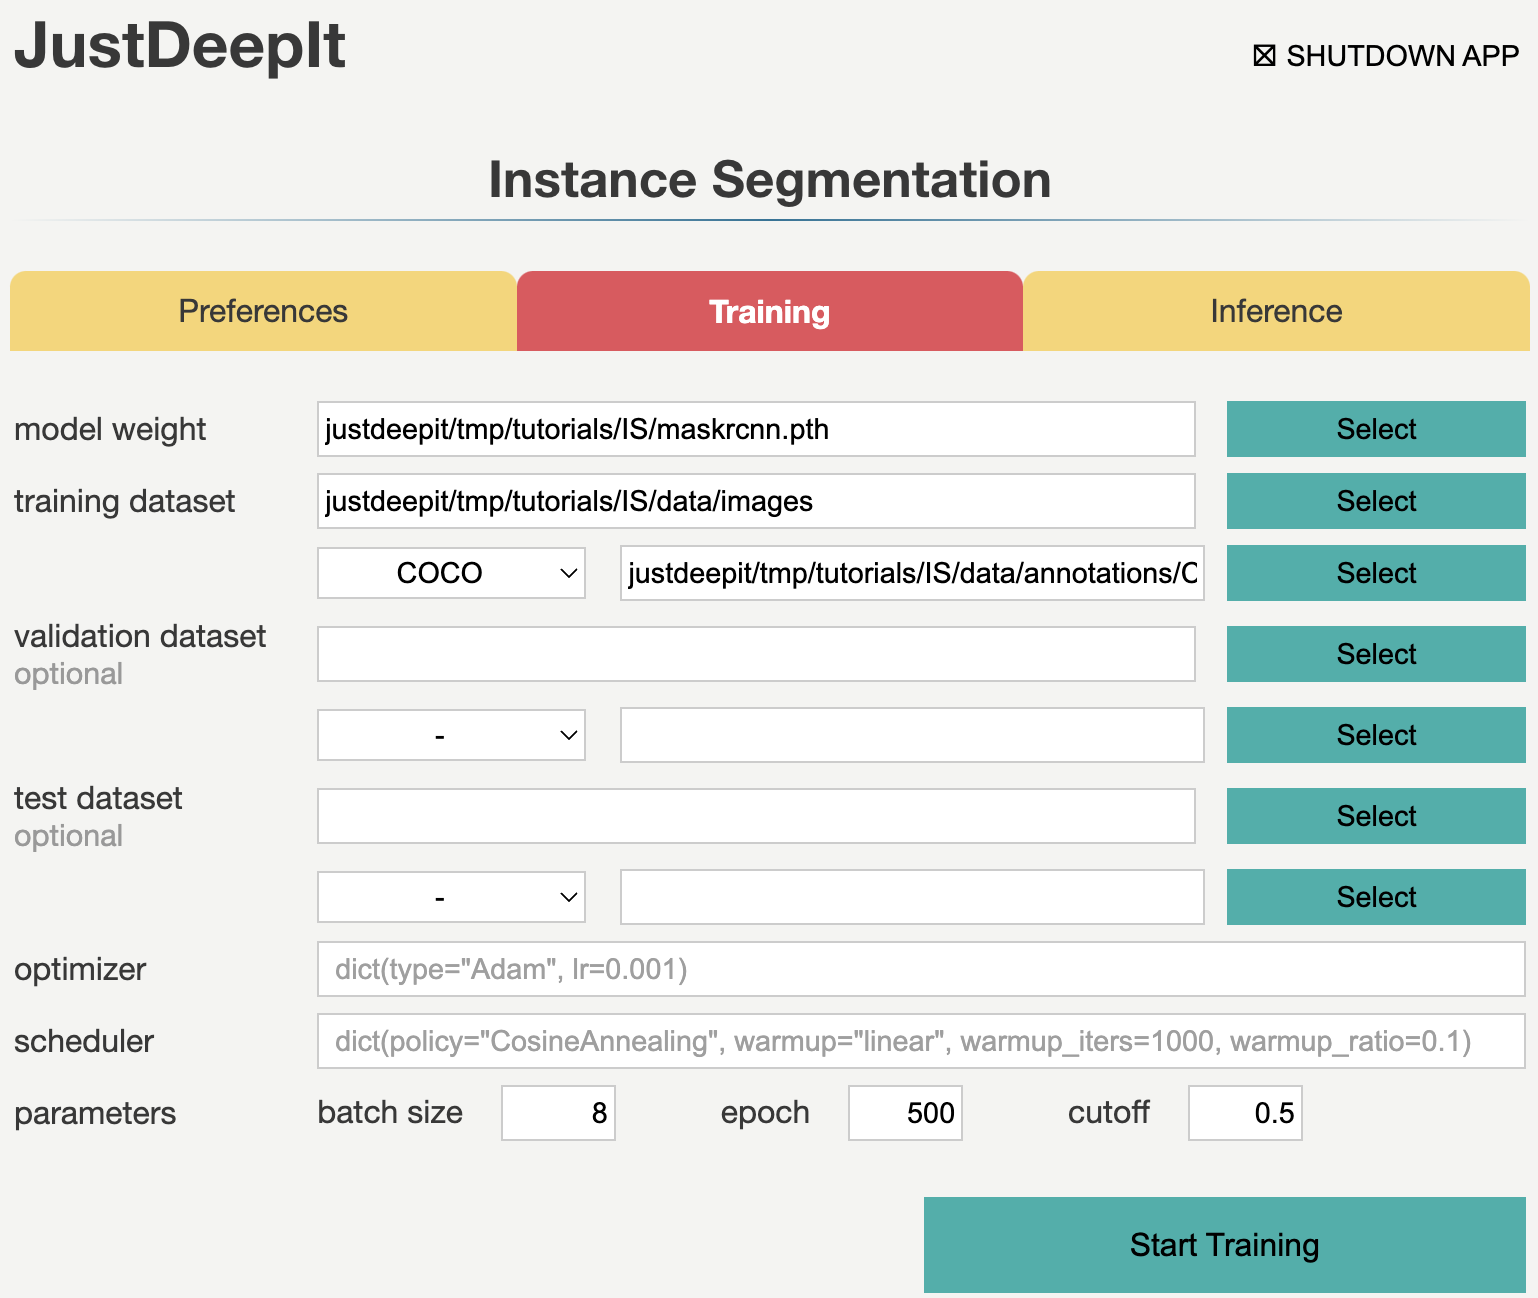
To train the model,
we select tab Training
and specify the model weight as the location storing the training weights,
image folder as the folder containing training images (i.e., images),
annotation format as the format of the annotation file (COCO in this case),
annotation as the file of image annotations (i.e., instances_default.json),
and other parameters as shown in screenshot below.
Note that the values of model weight, image folder, and annotation may be
different from the screenshot depending on user’s environment.
We then press the button Start Training for model training.
Training takes 20-40 minutes, and it depends on the computer hardware.
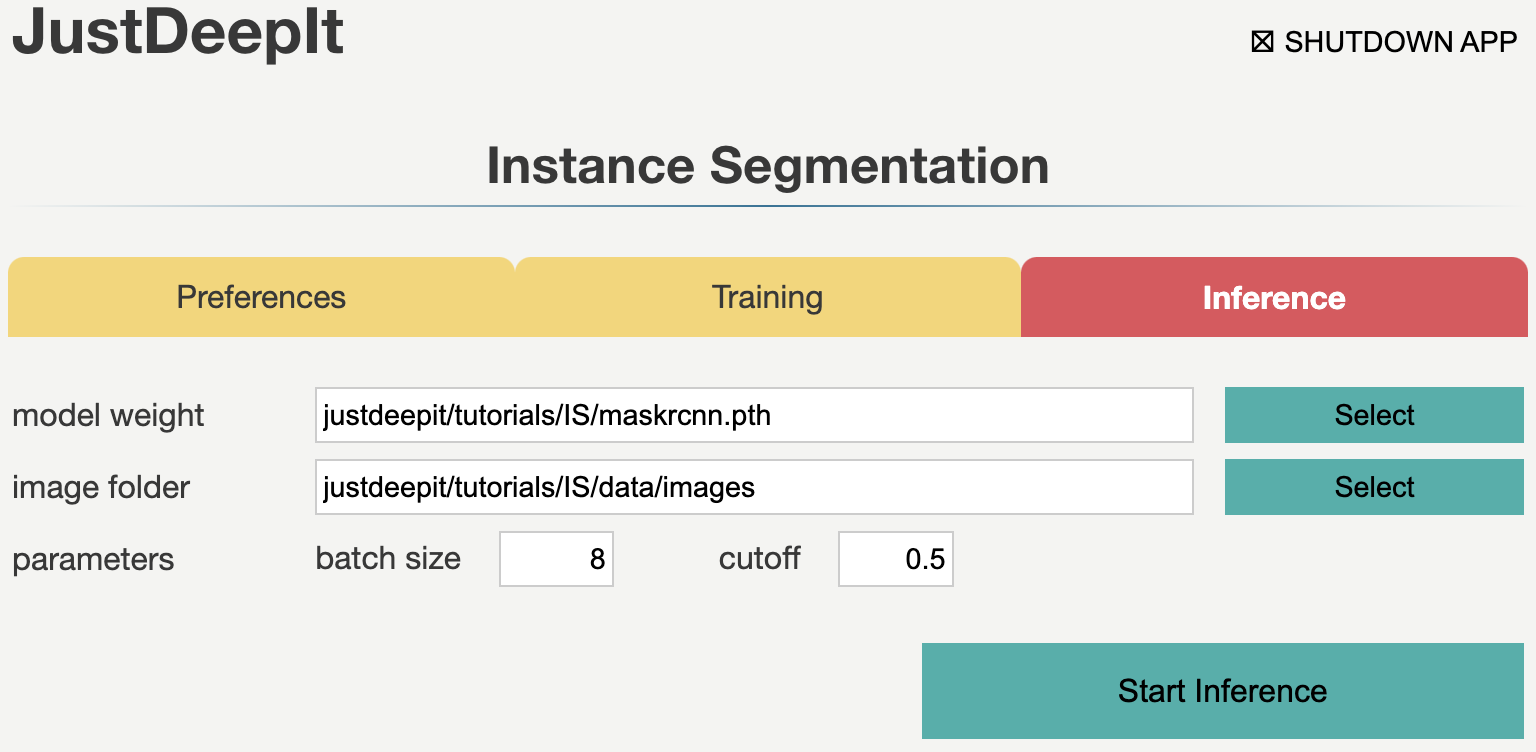
Inference
In tab Inference, the model weight is specified to the training weights,
whose file extension is .pth in general.
We specify image folder to the folder containing the images
(to simplify, here we use training images) for inference,
and other parameters as shown in screenshot below.
Note that the values of model weight and image folder may be
different from the screenshot depending on user’s environment.
We then press the button Start Inference for instance segmentation.
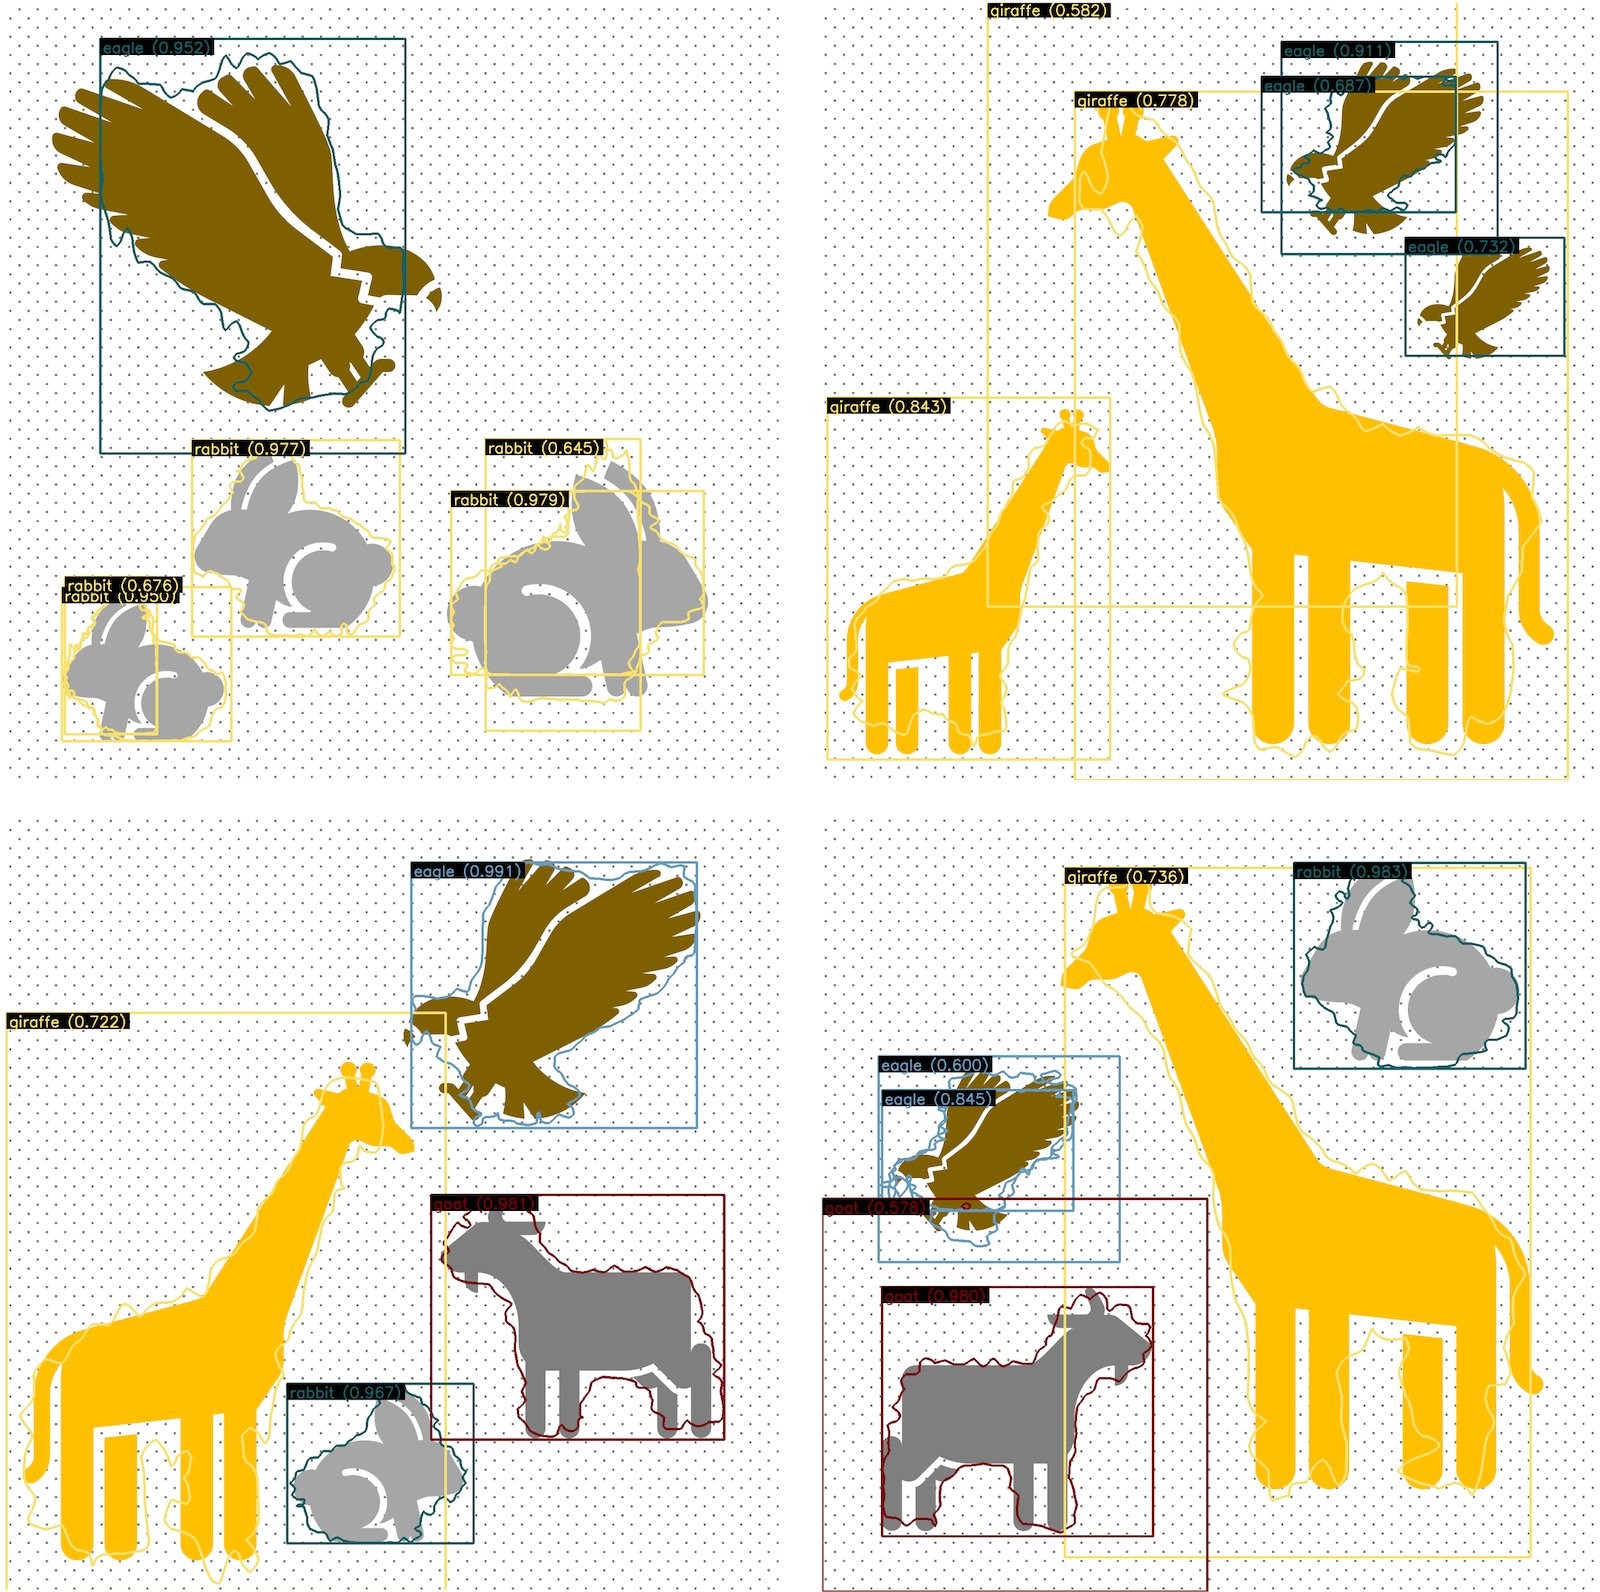
The inference results will be stored in folder
justdeepitws/outputs of the workspace
as images with bounding boxes and a JSON file in the COCO format (annotation.json).
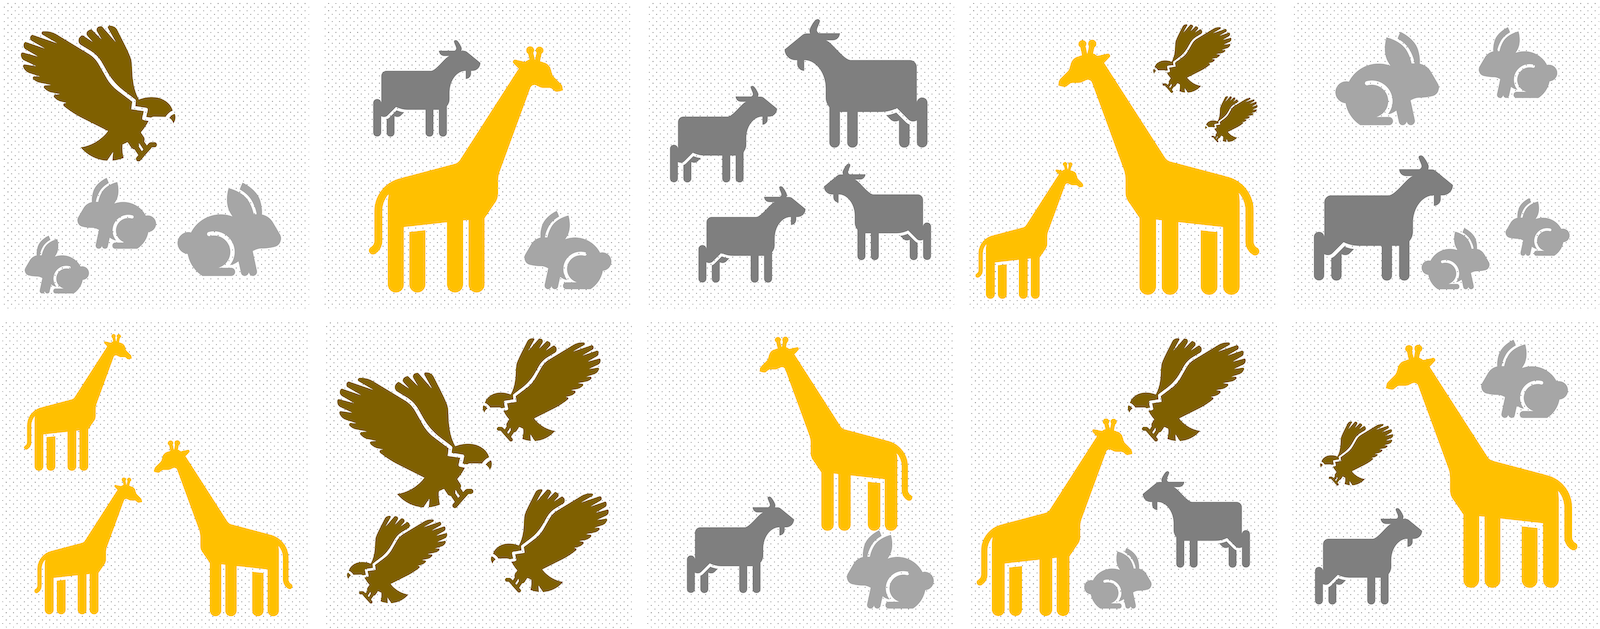
Examples of inference results are shown in the figure below.
API
Training and inference can be performed using the JustDeepIt API.
Python script run_justdeepit.py stored in GitHub
(JustDeepIt/tutorials/IS)
can be used for this purpose.
cd JustDeepIt/tutorials/IS

python scripts/run_justdeepit.py